Responder Deployment
You deploy the XDR Forensics Responder through the Cisco XDR Client Management deployment workflow rather than by downloading a standalone installer. You create a deployment that includes the XDR Forensics module and then install that deployment on your assets. When the deployment is installed, the XDR Forensics module is delivered as part of the XDR Client and the asset registers with XDR Forensics automatically.
To deploy the XDR Forensics Responder:
- In Cisco XDR, open Client Management and create a new deployment (or edit an existing one).
- Add the XDR Forensics module to the deployment.
- Save the deployment and install it on your target assets (Windows and macOS).
Because the XDR Forensics module is installed through the XDR Client, there is no separate Responder package to download and no PowerShell command, PowerShell script, CURL/WGET command, MSI download, or shareable deployment link to use.
| Windows | C:\Program Files\Cisco\Forensics\AIR | 73.png |
| macOS | /opt/cisco/forensics/air | 24.png |
If you deploy the XDR Forensics Responder to macOS assets, you must also grant Full Disk Access after installation, as described below.
Granting Full Disk Access for Responder on macOS
Section titled “Granting Full Disk Access for Responder on macOS”After installing a responder on macOS, users will need to grant Full Disk Access permission. To guide users through this process, a pop-up will appear after installation stating: “Allow XDR Forensics to access files on your disk. Open System Settings > Security & Privacy > Full Disk Access to grant permission to “XDR Forensics”.
If Full Disk Access permission is not granted when starting any Acquisition, this will be shown in the Acquisition logs:

Responder Deployment: Full Disk Access permission is not enabled
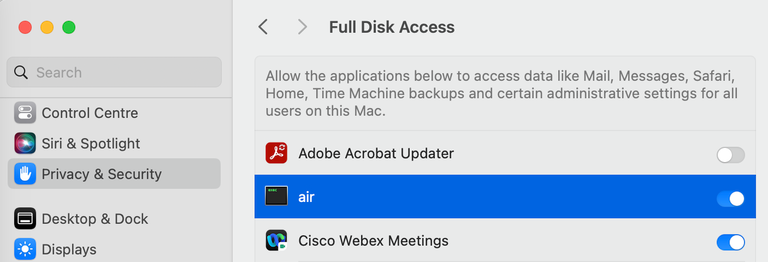
Responder Deployment: Full Disk Access toggled on
After toggling on the FDA on this page, select the /opt/cisco/forensics/air file in the file manager that opens. Once this is done, our responder will appear in the list under the name ‘air’, ready for the user to toggle ‘on’.
Responder Deployment: Allow access to data
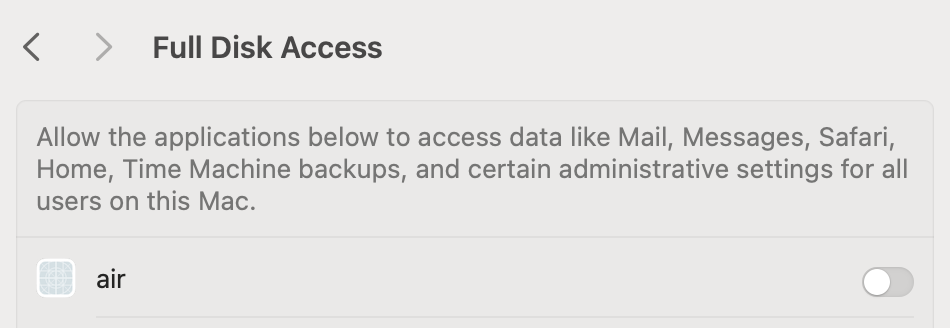
Why is there no logo next to XDR Forensics on the Full Disk Access page in macOS?
Section titled “Why is there no logo next to XDR Forensics on the Full Disk Access page in macOS?”The XDR Forensics responder operates as an executable binary running as a service rather than a traditional macOS application.
Since XDR Forensics is not packaged as a macOS app, it does not include a .plist file, which typically contains the application icon metadata. Consequently, it cannot display a logo on the Full Disk Access page.
This design choice does not affect the functionality or performance of XDR Forensics.
Problem with MDM Installation
Section titled “Problem with MDM Installation”While the pop-up effectively guides users in manually installed scenarios, it presents challenges for enterprise environments where macOS devices are managed via Mobile Device Management (MDM). MDM allows remote application installation and security policy enforcement, including granting Full Disk Access.
Customers prefer silent installations for MDM-deployed responders, as permissions are already set through security policies, eliminating the need for pop-ups. However, our current setup cannot distinguish between user-initiated and MDM-initiated installations, resulting in the pop-up appearing in all cases.
We are actively working on a solution to address this issue for seamless enterprise deployments.
Updating the XDR Forensics responder is discussed on this page.